[Godot 教學] 如何設定 UI 滿版背景?

發表於

Godot

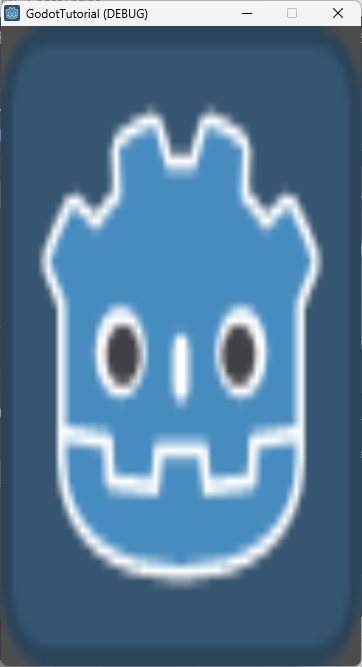
假設我們有設定專案的測試視窗大小,當我們不做任何設定,直接新增相同寬高的滿版背景,在執行專案時會出現元素超出視窗範圍的問題,如下圖:

godot-howto-ui-fill-window - godot howto ui fill window 1

為了解決這個問題,我們須對它的錨點進行設定,本篇教學將從最初的建立根節點開始說明。

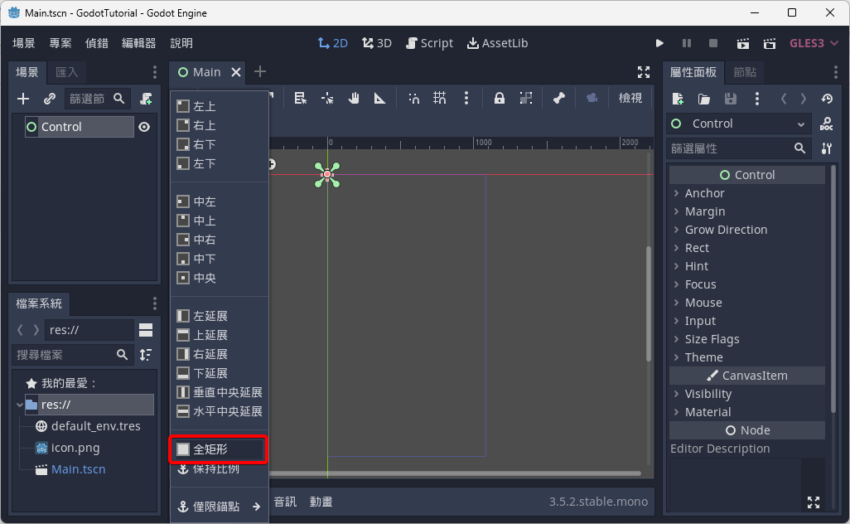
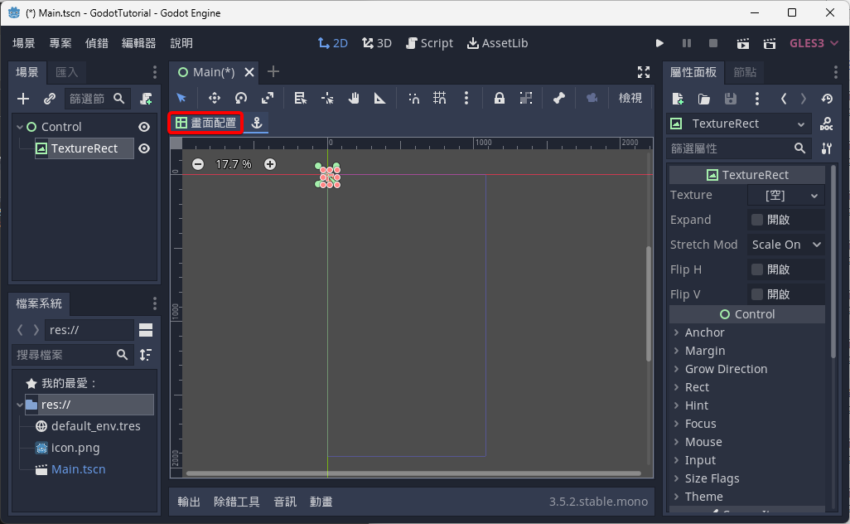
首先開啟新專案,建立一個 Control 根節點,再點擊「畫面配置」。

godot-howto-ui-fill-window - godot howto ui fill window 2

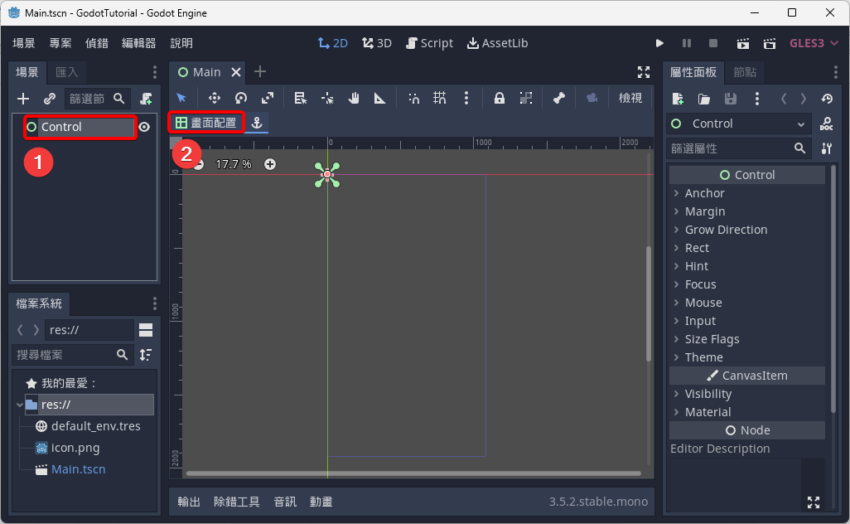
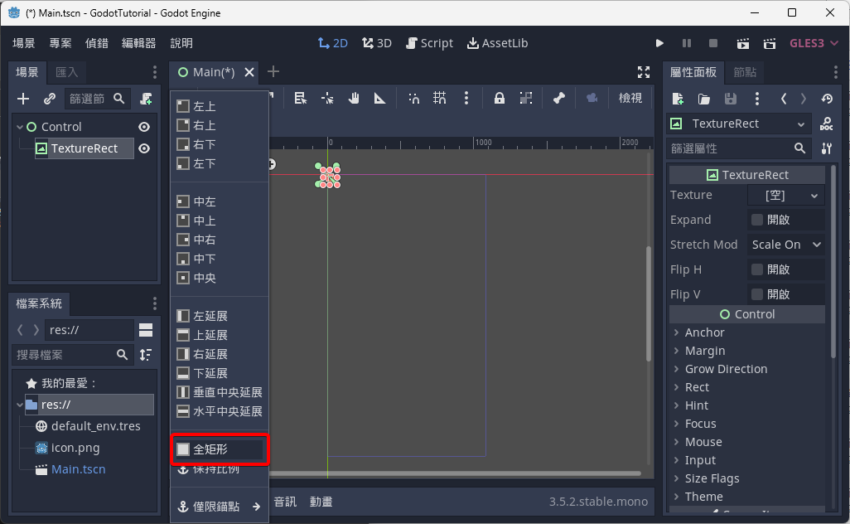
選擇「全矩形」,Control 節點將變更為滿版。

godot-howto-ui-fill-window - godot howto ui fill window 3

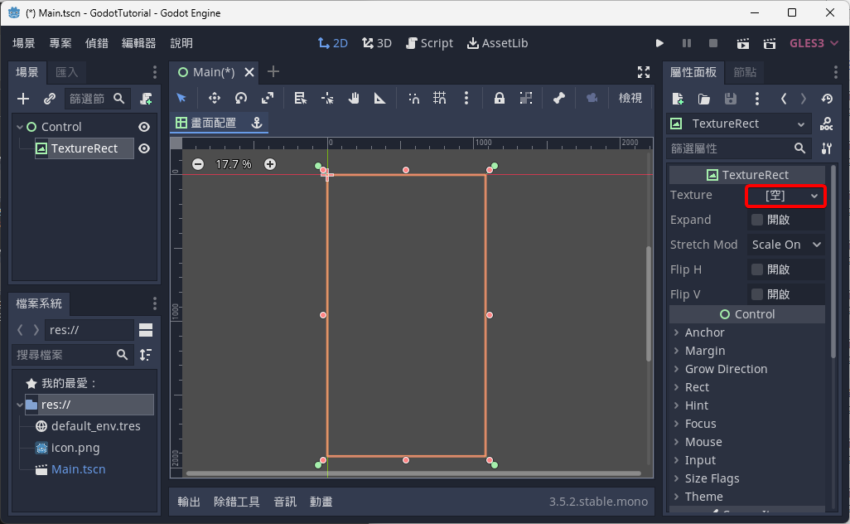
接下來在 Control 下新增一個 TextureRect 子節點,這是拿來顯示圖片的,再點擊「畫面配置」。

godot-howto-ui-fill-window - godot howto ui fill window 4

選擇「全矩形」。

godot-howto-ui-fill-window - godot howto ui fill window 5

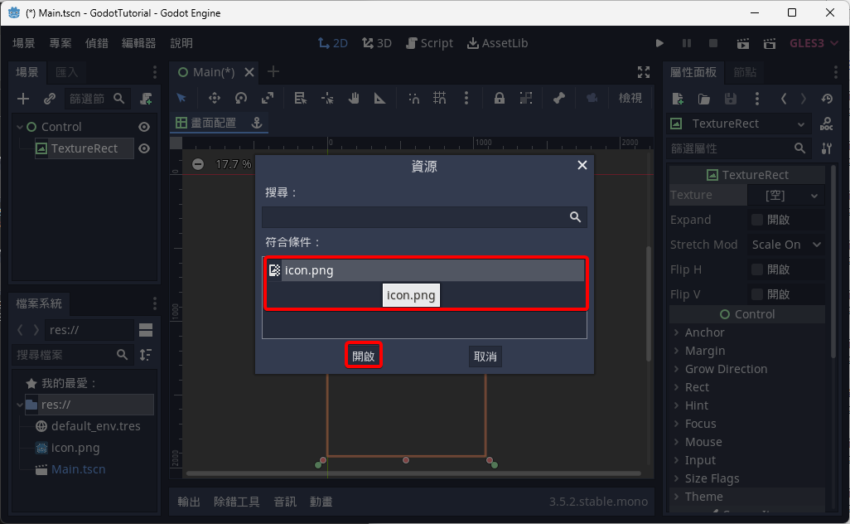
這時 TextureRect 的大小就已經覆蓋了整個視窗。接下來請點擊屬性面板中 Texture 的內容,也就是「[空]」的區域。

godot-howto-ui-fill-window - godot howto ui fill window 6

選擇「快速載入」。

godot-howto-ui-fill-window - godot howto ui fill window 7

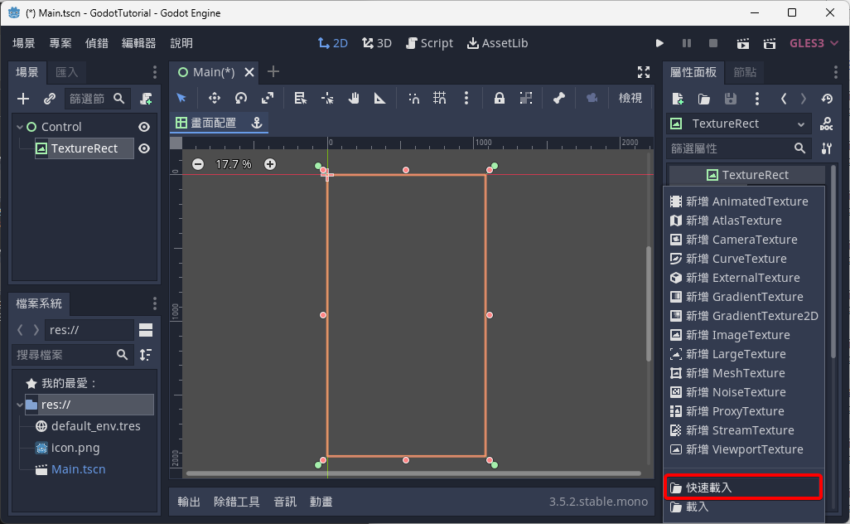
由於這是個示範,我們就將圖片設定為專案建立時就有的 Icon.png,再點擊「開啟」。

godot-howto-ui-fill-window - godot howto ui fill window 8

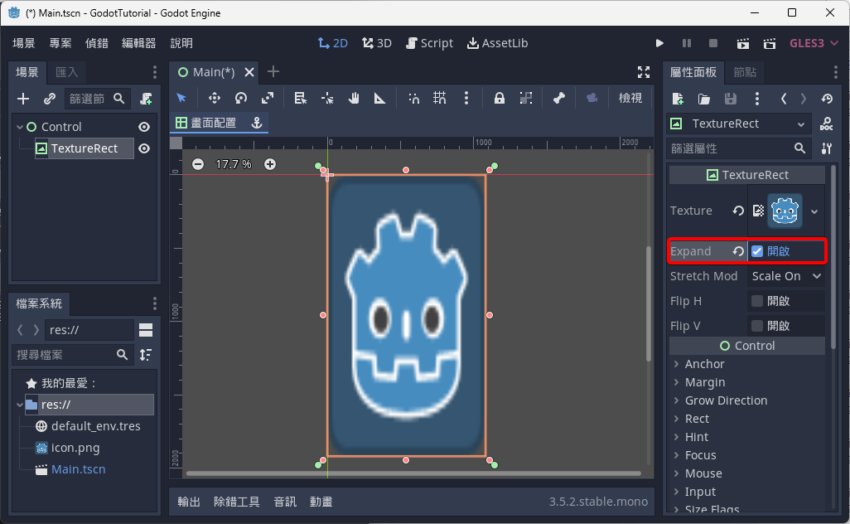
最後勾選屬性面板中的「Expand」,圖片將覆蓋整個畫面。

godot-howto-ui-fill-window - godot howto ui fill window 9

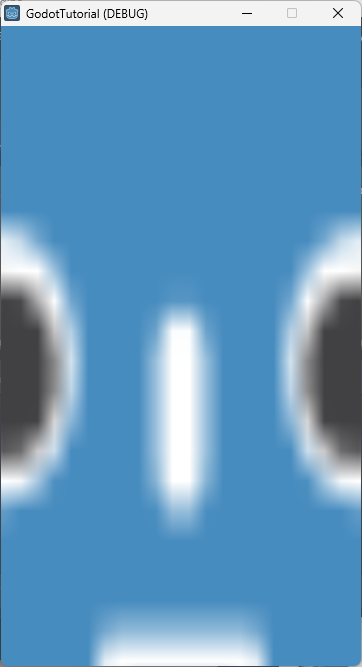
執行專案看一下,通過「畫面配置」的功能,可以讓原本沒有錨點、會超出視窗範圍的圖片變成能自動適應視窗大小的背景。(左圖為修改前、右圖為修改後的結果)