需求總覽
需求是讓 StreamDiffusion 在 Windows 上跑,而且要使用 CUDA 跑 NVIDIA 顯示卡,需要:
| 軟體名稱 | 版本 |
|---|---|
| Windows 11 | 23H2 |
| Python | 3.10 |
| CUDA | 12.4 |
| PyTorch | 2.6.0 |
安裝 Python
StreamDiffusion 使用 Python 的 3.10 版本,我們要先 安裝 Python。可以安裝 3.10.11 版本,有提供 Windows 安裝檔。
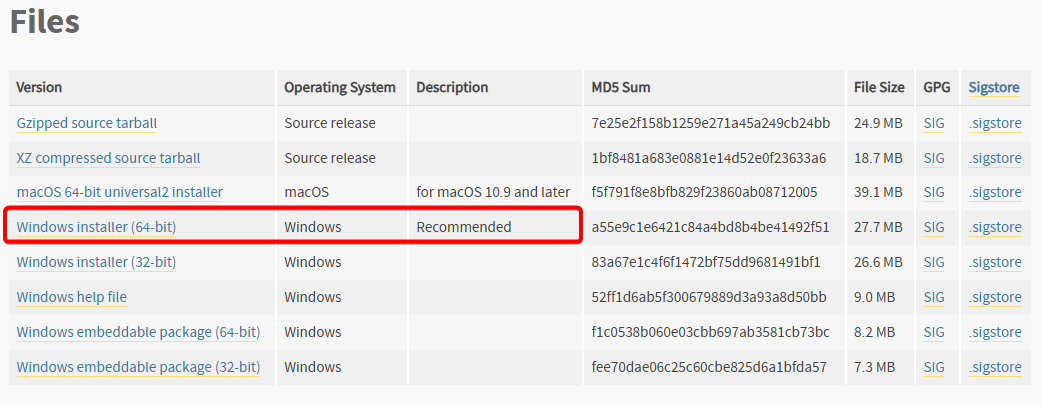
安裝完成後,在命令提示字元中輸入 python --version 檢查版本,如果出現「‘python’ 不是內部或外部命令、可執行的程式或批次檔。」,重開電腦通常能解決。如果一樣沒東西,那八成是環境變數沒設定。由於我要用 VS Code 建環境,可以繼續操作不管它,不影響運作。

安裝 CUDA
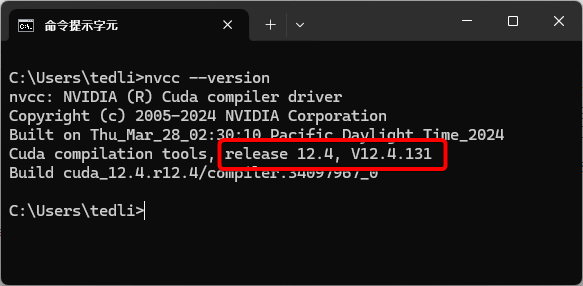
CUDA 的版本需配合 PyTorch 的需求,我使用 PyTorch 2.6.0 的 CUDA 12.4 版本,因此需要安裝 CUDA 12.4。
安裝的過程中注意一下,請務必在安裝選項這邊選擇「自訂」,並把除了 CUDA 以外的東西取消勾選,否則可能會安裝失敗。


安裝完成後,在命令提示字元中輸入 nvcc --version 檢查版本是否正確。
安裝 StreamDiffusion
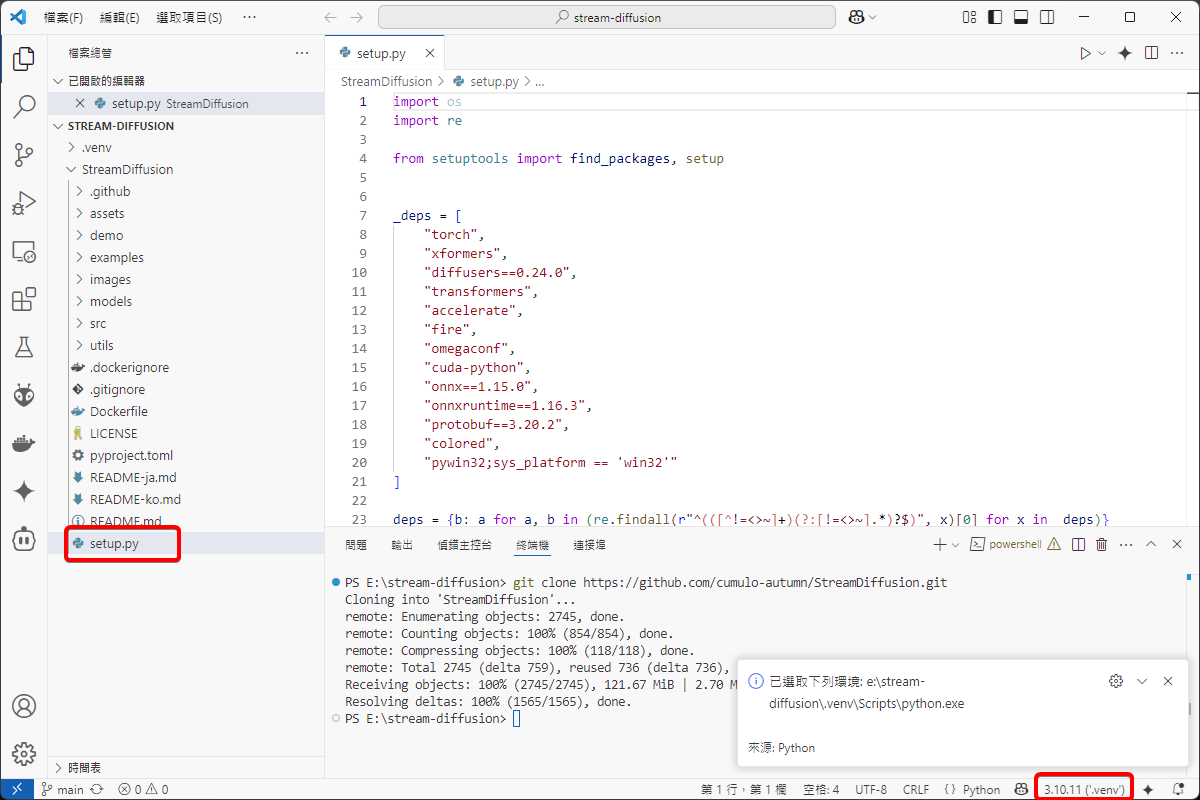
用 VS Code 開一個新資料夾,在終端機中輸入:
1git clone https://github.com/cumulo-autumn/StreamDiffusion.git

打開 StreamDiffusion 下的 setup.py,從右下角的按鈕來 建立 VENV 虛擬環境。
接下來要安裝 PyTorch,在終端機輸入:
1pip install torch torchvision xformers --index-url https://download.pytorch.org/whl/cu124
需要等一段時間來下載安裝,一切都看你的硬體規格。

因為我們是要拿 StreamDiffusion 來開發的,所以就遵循開發者的 For Developer 的流程來安裝 TensorRT。
1cd StreamDiffusion
2python setup.py develop easy_install streamdiffusion[tensorrt]
3python -m streamdiffusion.tools.install-tensorrt
4pip install --force-reinstall pywin32
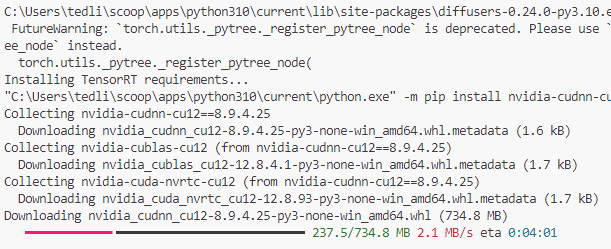
在執行 python -m streamdiffusion.tools.install-tensorrt 的時候會出現「ImportError: cannot import name ‘cached_download’ from ‘huggingface_hub’」錯誤,是因為 Hugging Face 的破壞性變更所導致,要 手動將 dynamic_modules_utils.py 的 cached_download 改成 hf_hub_download。


這些指令會下載大檔案,也需要等一段時間。
功能測試
建立 main.py,拿開發者提供的 Image-to-Image 範例程式 來修改,實作一個圖生圖的功能 (僅修改提示詞、圖片讀取路徑):
 1import torch
 2from diffusers import AutoencoderTiny, StableDiffusionPipeline
 3from diffusers.utils import load_image
 4
 5from streamdiffusion import StreamDiffusion
 6from streamdiffusion.image_utils import postprocess_image
 7
 8# You can load any models using diffuser's StableDiffusionPipeline
 9pipe = StableDiffusionPipeline.from_pretrained("KBlueLeaf/kohaku-v2.1").to(
10    device=torch.device("cuda"),
11    dtype=torch.float16,
12)
13
14# Wrap the pipeline in StreamDiffusion
15stream = StreamDiffusion(
16    pipe,
17    t_index_list=[32, 45],
18    torch_dtype=torch.float16,
19)
20
21# If the loaded model is not LCM, merge LCM
22stream.load_lcm_lora()
23stream.fuse_lora()
24# Use Tiny VAE for further acceleration
25stream.vae = AutoencoderTiny.from_pretrained("madebyollin/taesd").to(device=pipe.device, dtype=pipe.dtype)
26# Enable acceleration
27pipe.enable_xformers_memory_efficient_attention()
28
29
30prompt = "anime artwork 1girl . anime style, key visual, vibrant, studio anime, highly detailed"
31# Prepare the stream
32stream.prepare(prompt)
33
34# Prepare image
35init_image = load_image("example.png").resize((512, 512))
36
37# Warmup >= len(t_index_list) x frame_buffer_size
38for _ in range(2):
39    stream(init_image)
40
41# Run the stream infinitely
42while True:
43    x_output = stream(init_image)
44    postprocess_image(x_output, output_type="pil")[0].show()
45    input_response = input("Press Enter to continue or type 'stop' to exit: ")
46    if input_response == "stop":
47        break
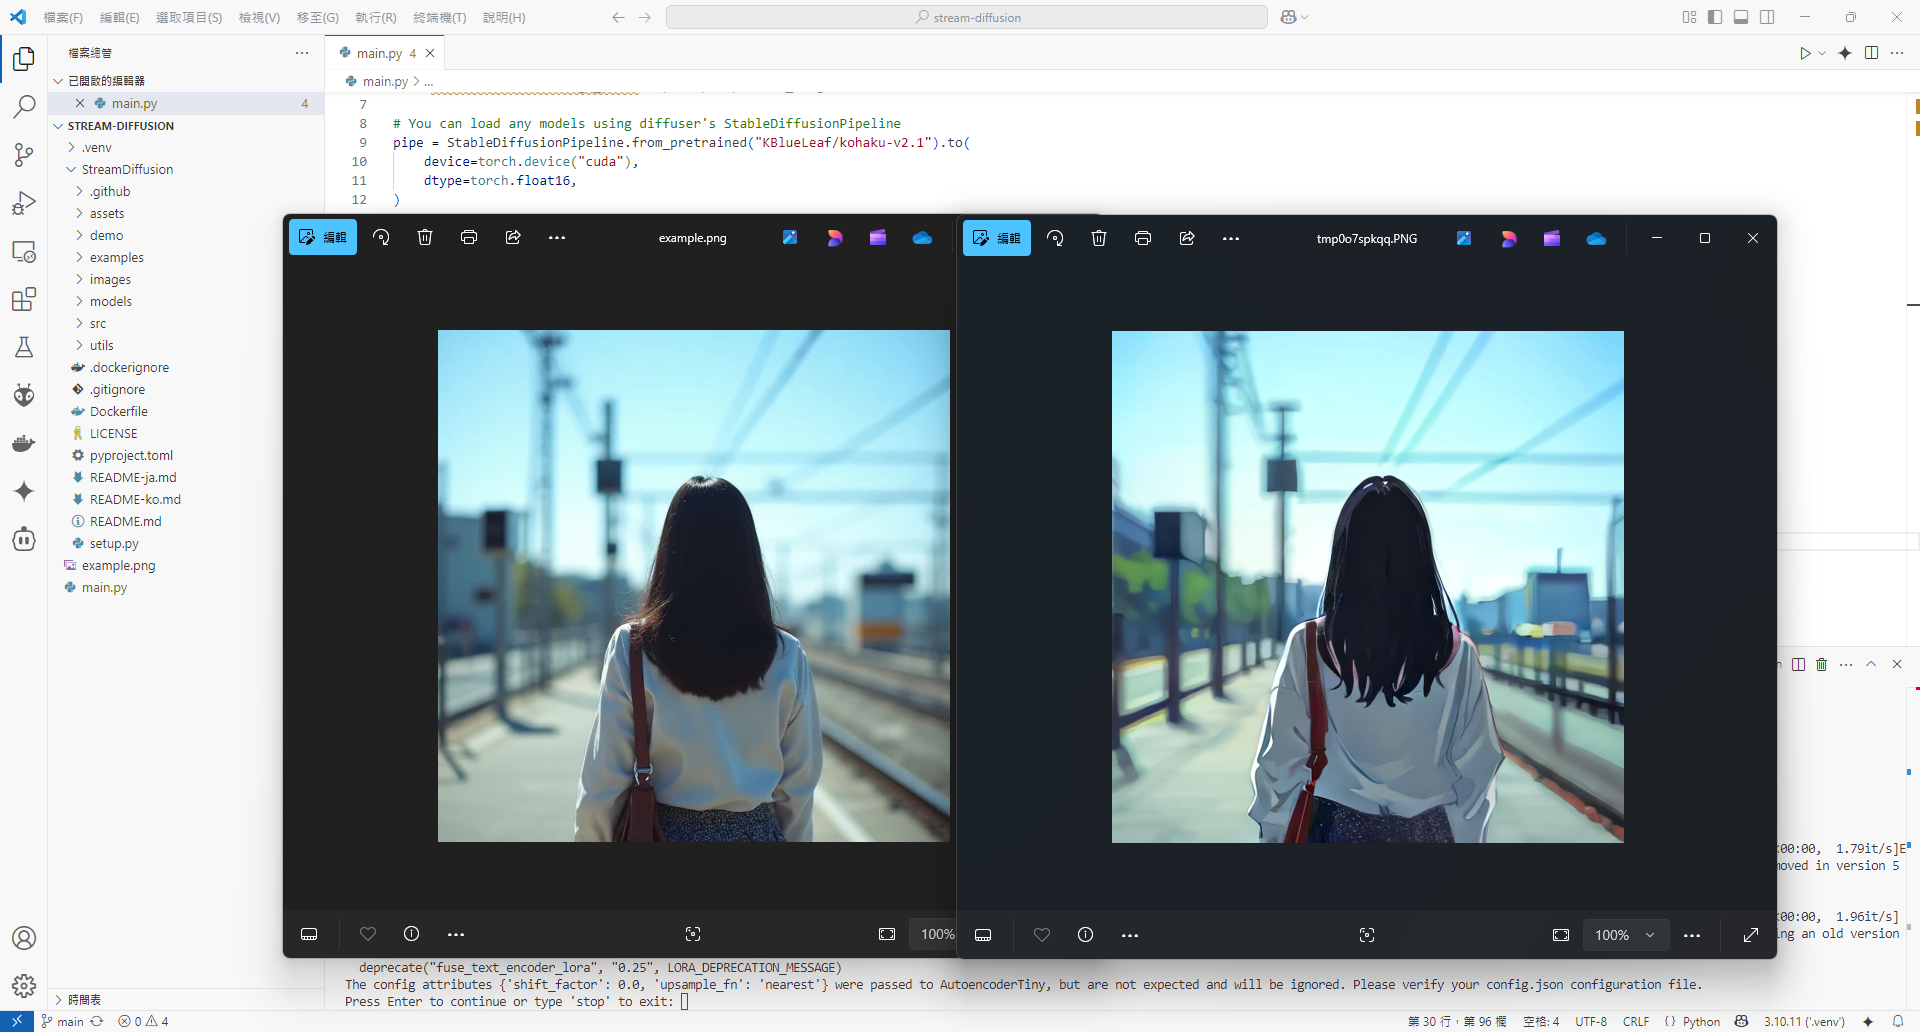
執行結果如下,左邊為原圖,右邊為生成的圖。可以試著改變 生成風格的提示詞 來創造更多不同的結果。
